
Our starter kit guide. Everything you need to start splashing, blending and playing. No experience needed, promise.
Hello, and welcome to your new favourite way to unwind. Watercolour has a reputation for being tricky, and honestly? It is a little bit wild. The water does what it wants. That's the best part.
This guide walks you through watercolour for beginners: the basics, the techniques we use in the studio every single week, and a handful of tricks that make everyone go "ooh". Keep it open on your phone while you paint and dip in whenever you like.
The golden rule: it's about the process, not the product. Your first page might look like a happy accident. So might your fiftieth. That's watercolour working exactly how it should.
What's in your watercolour kit
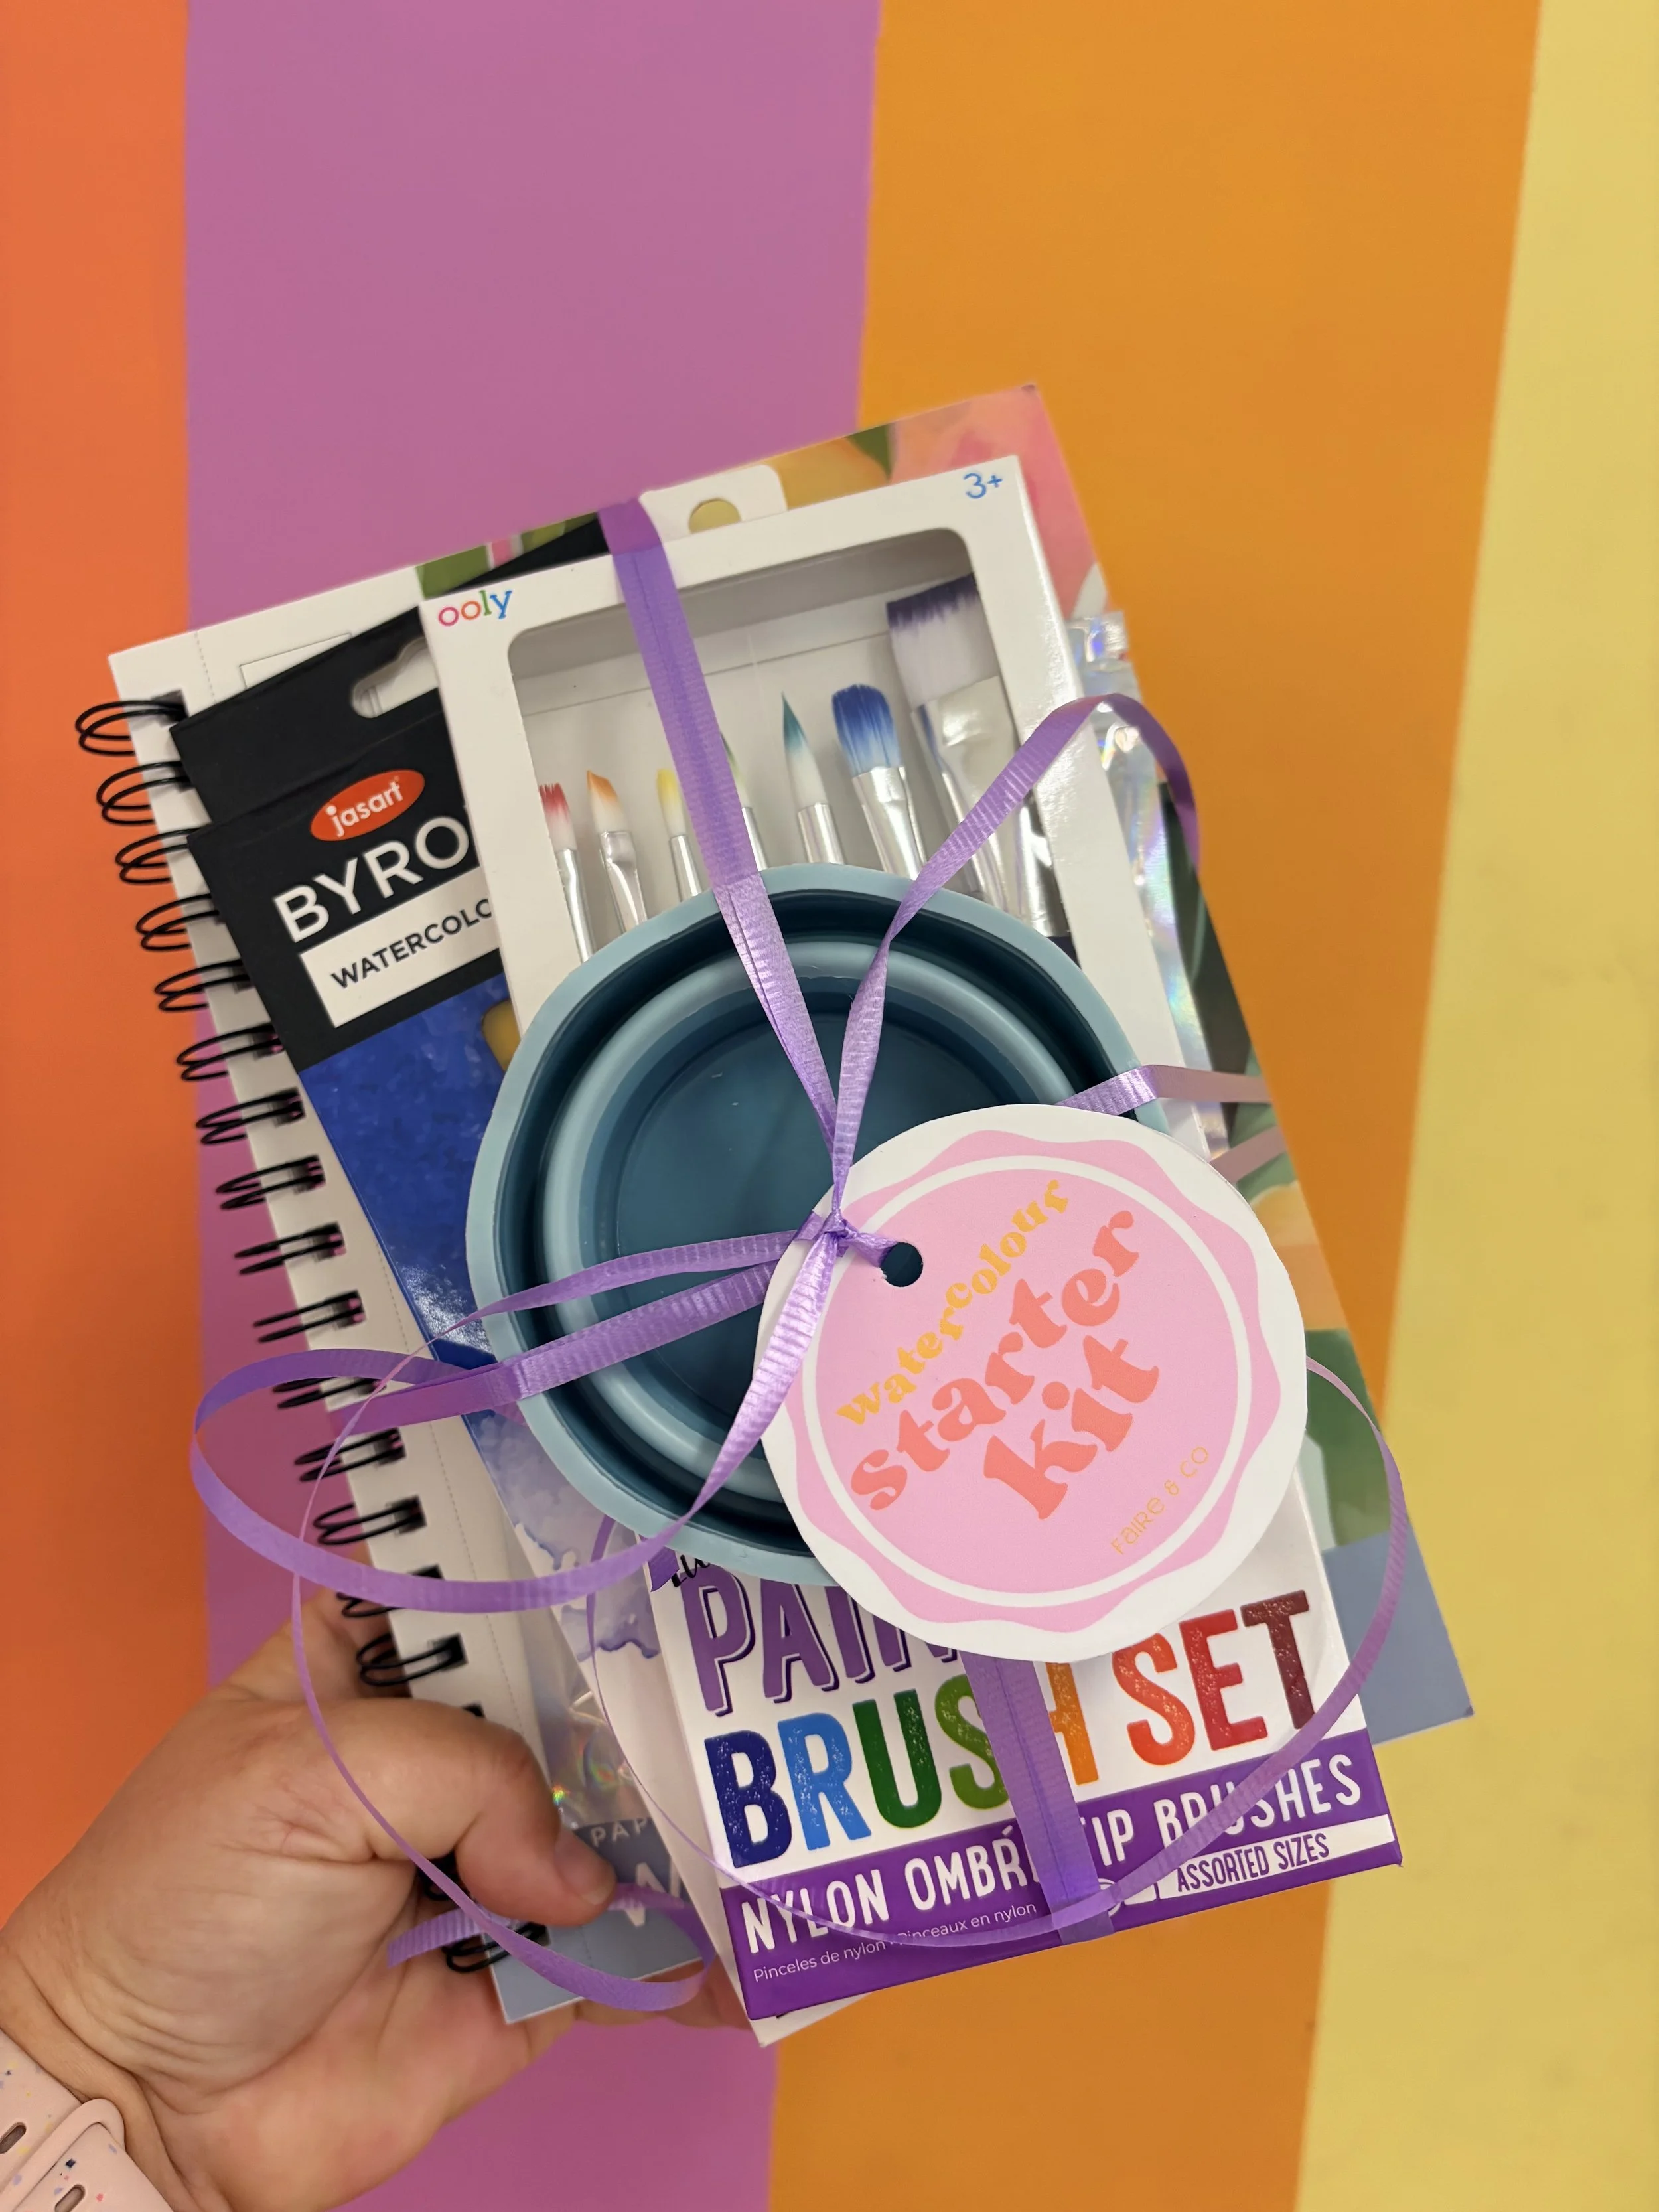
- Paints. Pans of colour. Wake up dry pans by adding a drop of clean water to each one a minute before you start.
- Brushes. A round brush does almost everything: a fat belly for washes and a pointy tip for details. A flat brush is great for big, even areas.
- Watercolour paper. Thicker than normal paper (look for around 300gsm) so it can handle water without turning into a soggy taco. Printer paper pills and buckles.
- A palette. For mixing colours. The lid of your paint set works, and so does an old white plate.
Handy extras from around the house: two jars of water, paper towel or an old rag, masking tape, salt, a white crayon or candle, a straw and a bit of cling wrap. You'll see why below.
How much water to use with watercolour
The amount of water on your brush changes everything. Think of it like a coffee order: the more water you add, the lighter and more see-through your colour gets.
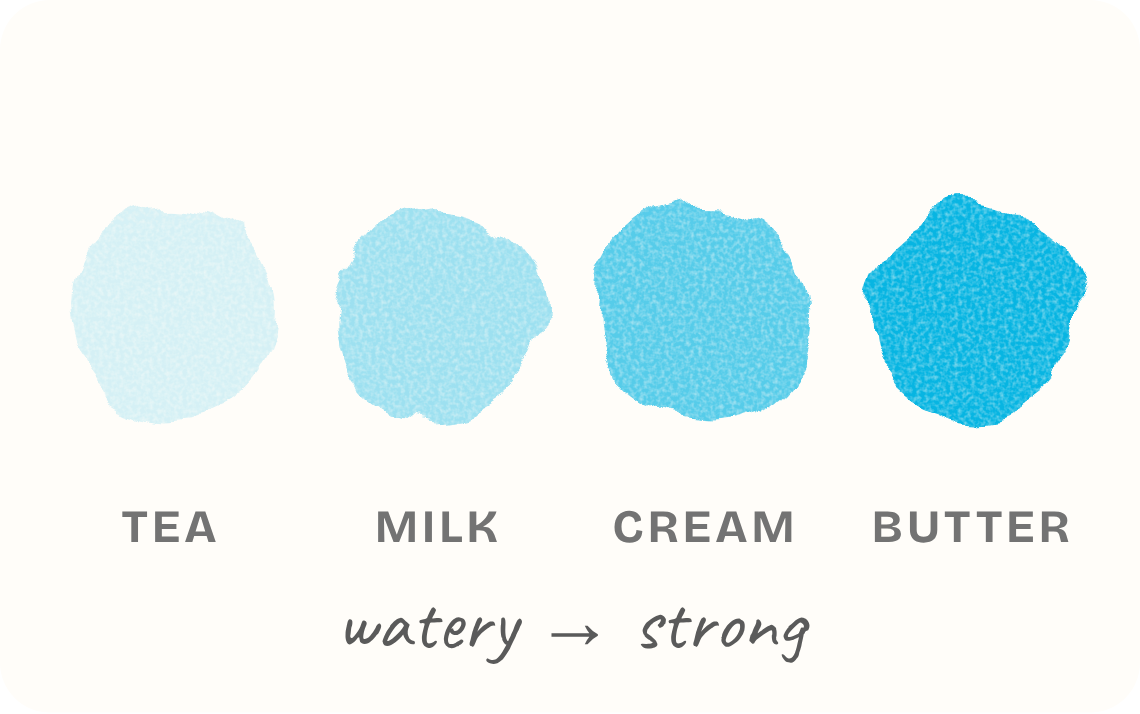
- Tea: mostly water. Pale and see-through, perfect for first layers.
- Milk: light but colourful. Your everyday wash.
- Cream: rich and smooth. Great for bold shapes.
- Butter: barely any water. The strongest colour, for darks and details.
Tip: two jars, always. One for rinsing your dirty brush, one kept clean for mixing. Your yellows will thank you.
Watercolour brush basics
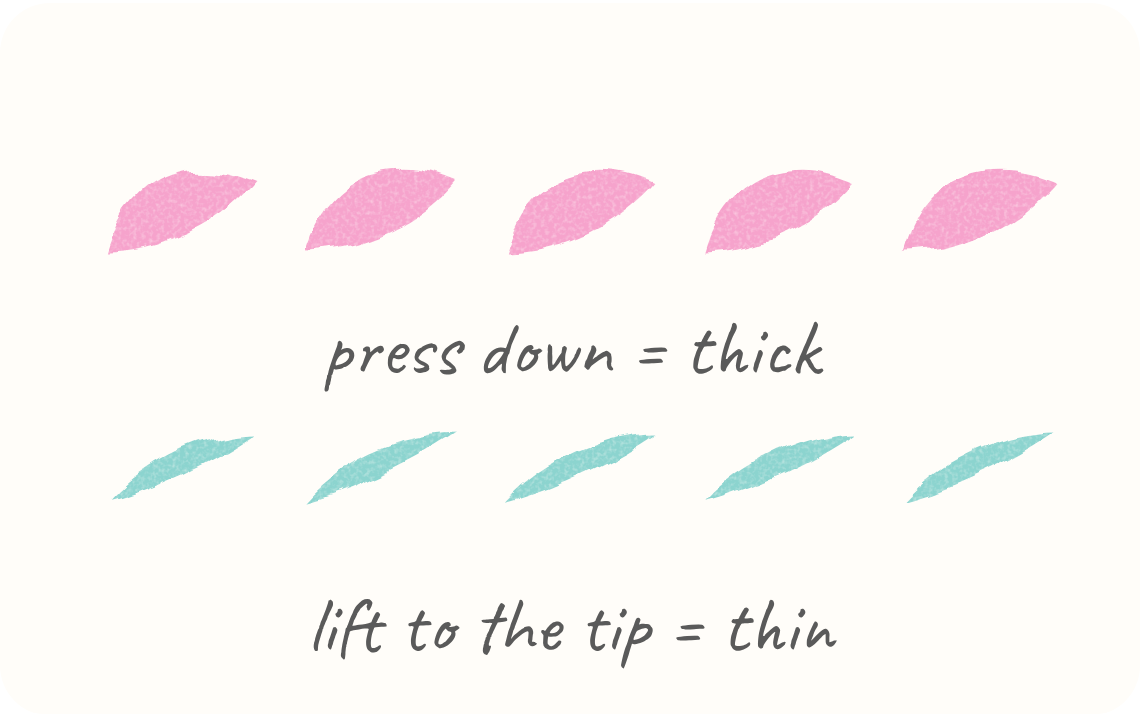
Press and lift. Push the brush down to spread the bristles for a thick stroke, then lift up onto the tip for a thin one. Do both in one movement and you've painted a leaf.
Where you hold it matters. Hold further back on the handle for loose, relaxed strokes. Hold closer to the bristles for tiny details.
Load it, don't drown it. Dip into your paint, then gently wipe one side on the rim of your jar or palette so it isn't dripping.
Try it: fill a page with press-and-lift leaves in every colour you've got. It's the best warm-up there is, and weirdly relaxing.
8 core watercolour techniques for beginners
These are the moves almost every watercolour painting is built from. Try each one on a scrap of paper first. There's no exam.
Flat wash

One even layer of a single colour. It's the building block for almost everything.
1. Tilt your paper slightly so gravity helps.
2. Load a big brush with a milky mix.
3. Paint a stroke across the top, then the next one just below, catching the little bead of paint that forms at the bottom.
4. Keep going to the end and don't go back in. Fiddling is how streaks happen.
Great for: skies, backgrounds, base layers
Graded wash

Strong colour that fades softly to almost nothing.
1. Start with a strong, creamy mix along the top.
2. Dip your brush in clean water before each new row.
3. Each stroke gets a little lighter until you're painting with pretty much just water.
Great for: skies, sunsets, water
Variegated wash
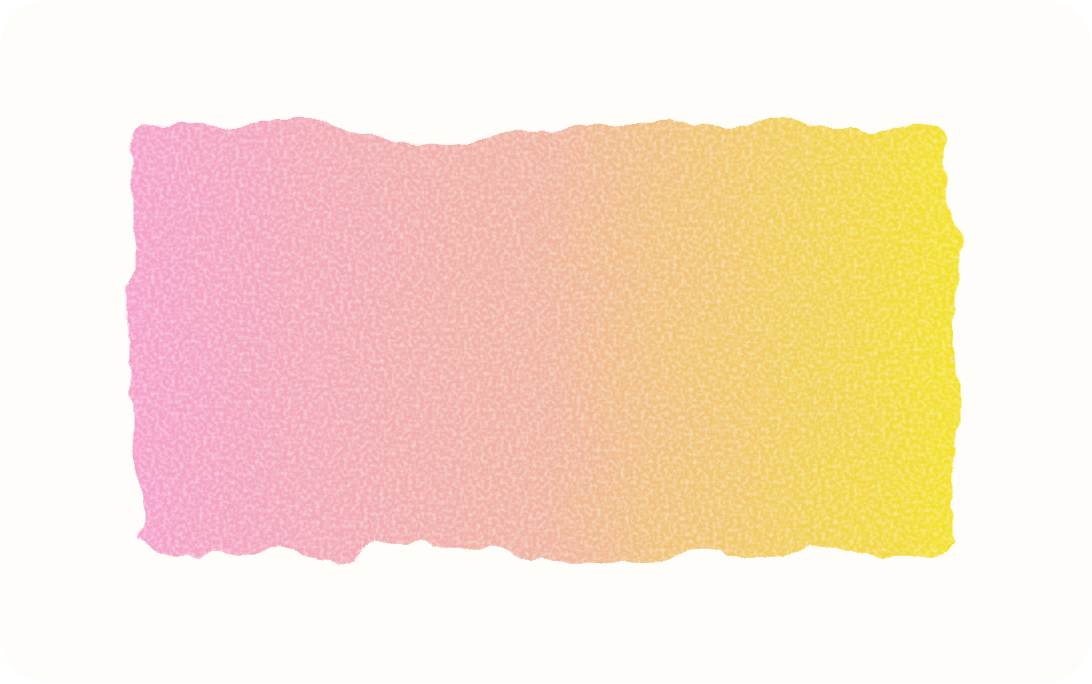
Two or more colours melting into each other.
1. Paint a band of your first colour.
2. While it's still wet, paint the next colour right up against it.
3. Let them mingle on their own. Resist the urge to stir them together with your brush.
Great for: sunsets, rainbows, dreamy backgrounds
Wet on wet

The magic one. Colour dropped onto wet paper spreads, feathers and blooms all by itself.
1. Brush clean water over your paper until it's shiny, not puddly.
2. Touch your loaded brush to the wet area and watch it go.
3. Drop in a second colour and let them meet. Then hands off.
Great for: galaxies, flowers, clouds, abstract art
Wet on dry

Paint on dry paper (or a dry layer) for crisp, sharp edges and way more control.
1. Make sure the paper is completely dry first.
2. Paint your shape with a damp, loaded brush.
3. Use this once your background is done to add the details.
Great for: leaves, outlines, details, lettering
Dry brush
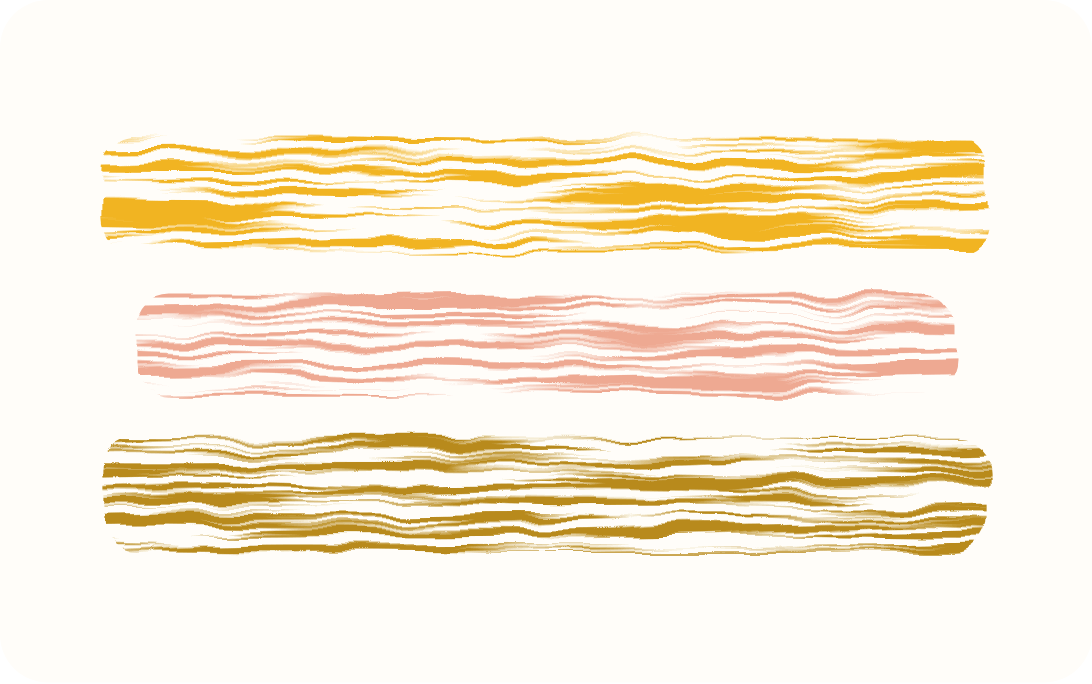
Scratchy, sparkly texture made with barely any water.
1. Load your brush with thick paint, then dab most of the water off on a paper towel.
2. Drag it lightly across the paper, holding the brush almost flat.
3. The paint skips over the bumps in the paper and leaves gaps. That's the look.
Great for: grass, fur, wood, sparkle on water
Layering (glazing)
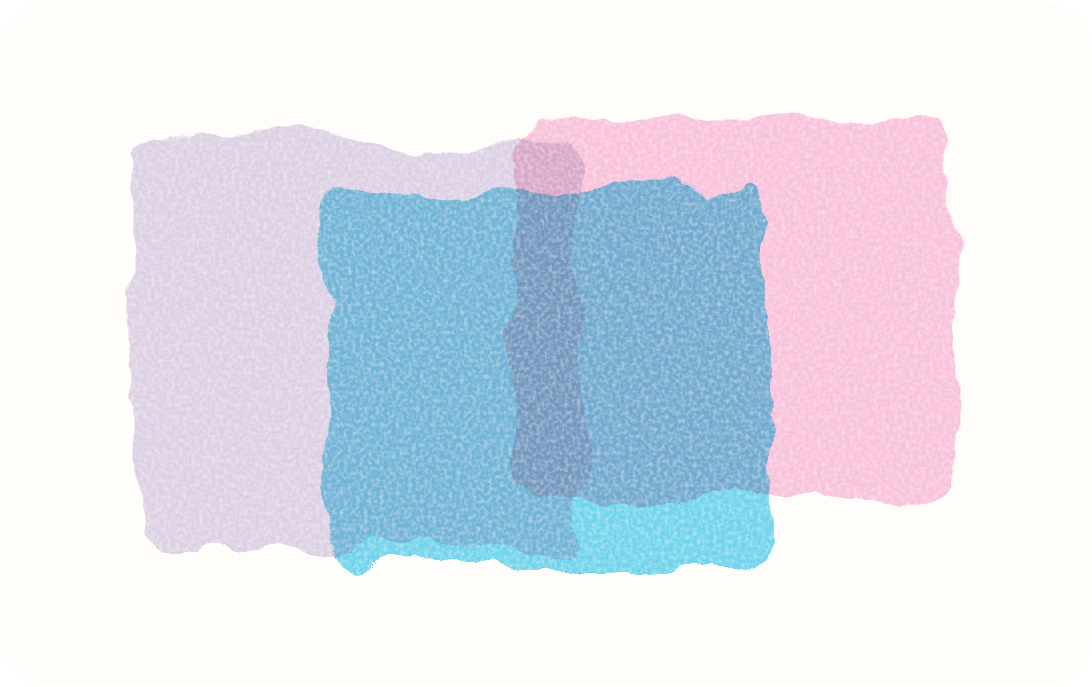
Stacking see-through layers on top of each other, like coloured cellophane.
1. Paint a light first layer and let it dry completely.
2. Paint a second layer over part of it. Watch the overlap change colour.
3. Keep layering from light to dark for depth.
Great for: shadows, depth, rich colour
Lifting

Taking paint off instead of putting it on.
1. While the paint is still wet, dab it with a scrunched-up paper towel.
2. Or rinse your brush, squeeze it out, and use it like a little sponge.
3. Dry paint can be lifted too: wet the spot, wait a few seconds, then blot.
Great for: clouds, highlights, fixing oopsies
Tip: is it dry yet? Gently touch the back of your finger to the paper. If it feels cool, it's still damp. Patience is the secret ingredient for layering (or grab a hairdryer on low).
Watercolour tricks and happy accidents
This is where everyone gets hooked. Raid the kitchen drawer and give these a go.
Salt

Sprinkle salt onto a wet (but not swimming) wash. Each grain pulls the pigment towards it and leaves tiny starbursts. Leave it until bone dry, then brush the salt off. Table salt gives fine speckles, rock salt gives big stars.
Great for: night skies, snow, under the sea
Wax resist

Draw with a white crayon or the end of a candle first, then paint over the top. The wax pushes the water away and your drawing magically appears. Secret messages are a huge hit with little ones.
Great for: patterns, secret messages, stars
Splatter

Load your brush with watery paint, hold it over the paper and tap the handle against your finger or another brush. Instant energy. Cover anything you don't want splattered (including the dog).
Great for: galaxies, confetti, texture
Blooms
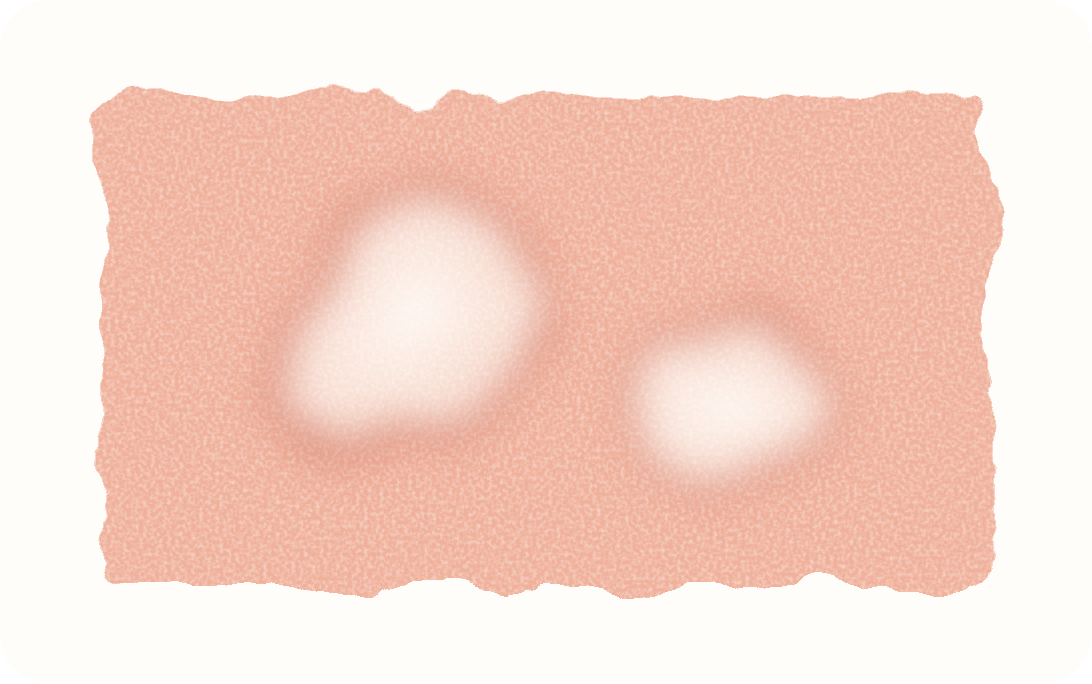
Drop clean water into a wash that's half dry and it pushes the pigment out into frilly, cauliflower-shaped edges. Some people call these mistakes. We call them texture.
Great for: flowers, abstract art, happy accidents
Bonus: masking tape for crisp edges. Tape around your paper before you paint, then peel it off slowly at an angle once everything is completely dry. Instant clean border, instant "did you buy that?"
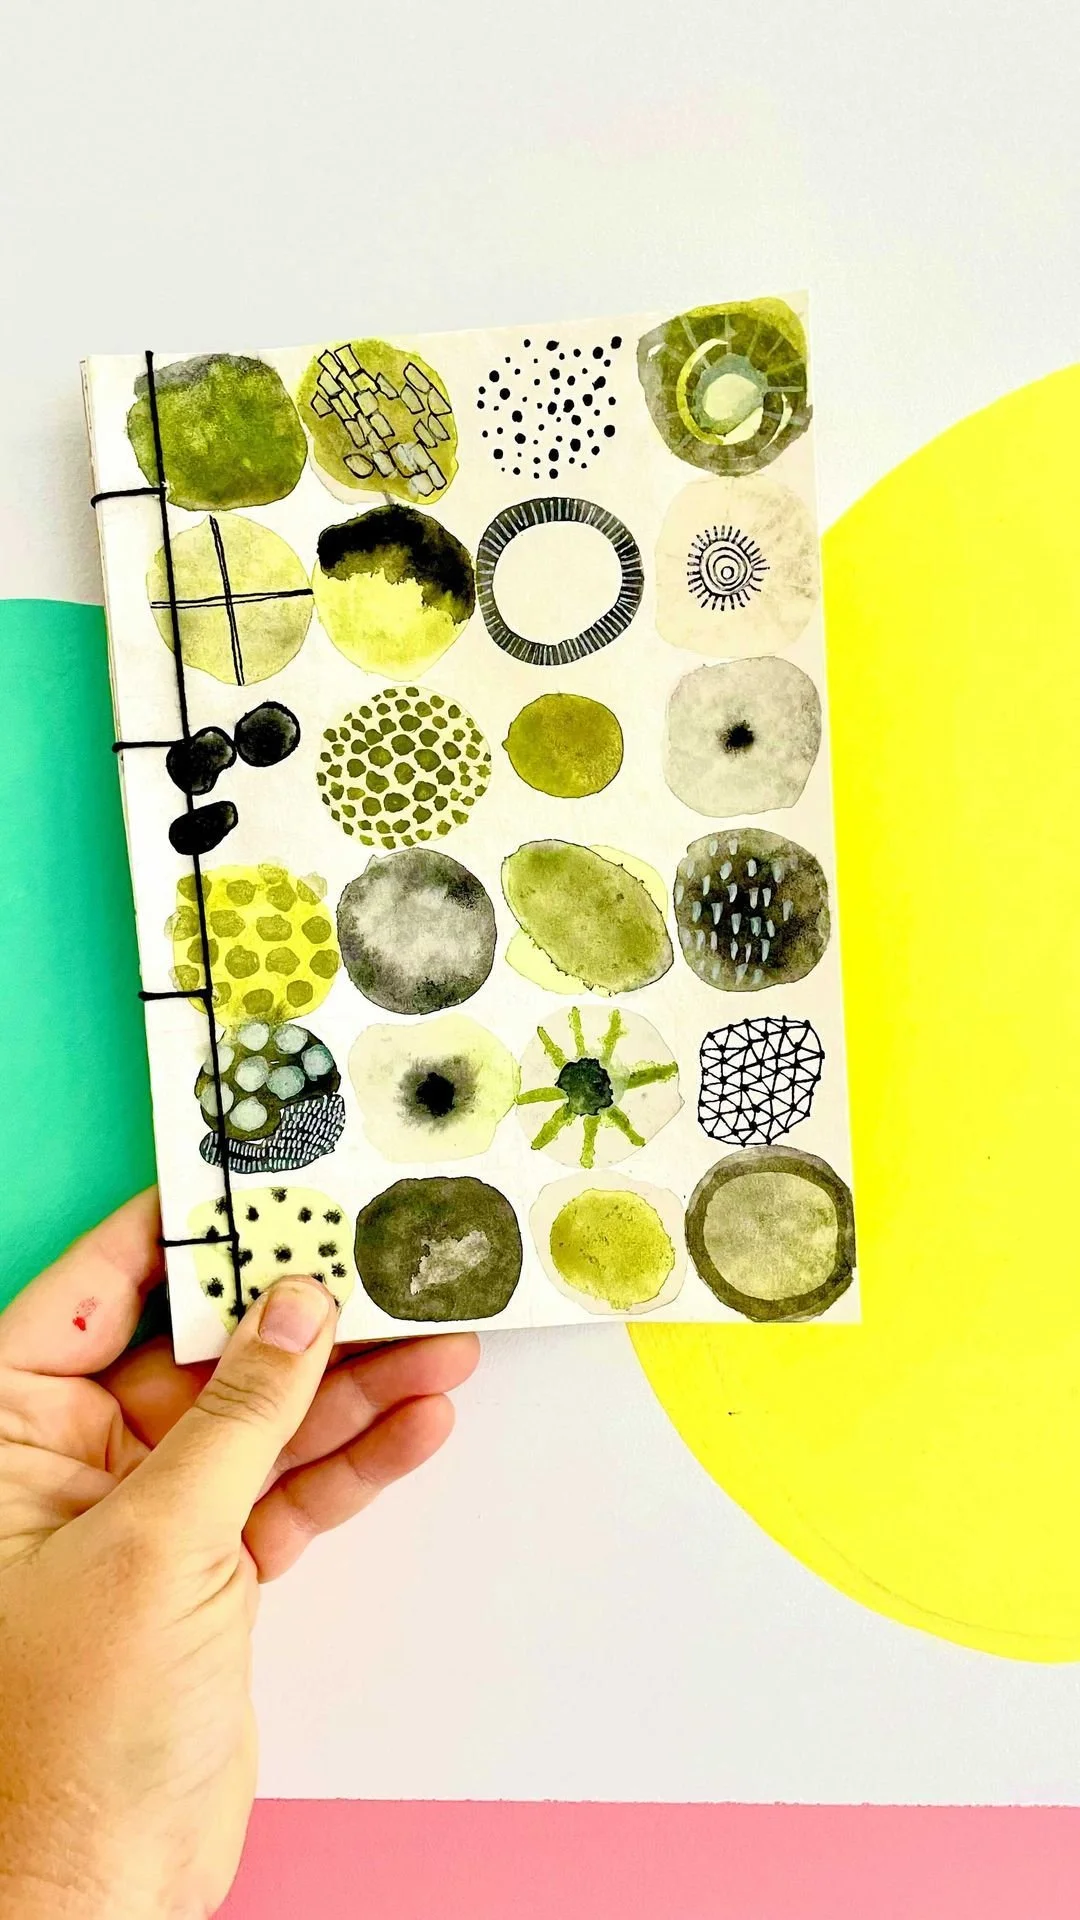
Watercolour colour mixing
With just three colours (a red or pink, a yellow and a blue) you can mix almost anything.
- Yellow + blue = green
- Red + yellow = orange
- Red + blue = purple
Dodge the mud. Mix more than three colours together and things often head towards brown. Rinse your brush between colours and keep that clean jar clean.
Make a colour chart. Paint a little swatch of every colour in your kit and label it. Then try mixing each one with its neighbour. You'll be amazed what's hiding in there.
4 easy watercolour projects to try at hom
Put the techniques together. Each of these takes around 15 to 30 minutes and works for all ages.
1. Ombre sunset (Graded + variegated wash)
Tape off a rectangle. Wash yellow into peach into pink from bottom to top. Once it's dry, paint a row of dark hills or palm trees along the bottom. Peel the tape for a crisp, frame-worthy edge.
2. Galaxy sky (Wet on wet + salt + splatter)
Wet the paper, drop in blues, purples and pinks and let them swirl. Sprinkle salt while it's wet. Once it's dry, brush off the salt and splatter white paint for stars.
3. Secret message (Wax resist)
Write a message or draw a picture in white crayon. Swap with someone and let them paint over it to find out what it says. Perfect for little hands.
4. Blob monsters (Straw blowing + wet on dry)
Blow a blob of paint into a wild shape with a straw. Let it dry, then turn it into a creature with eyes, legs, teeth and attitude.
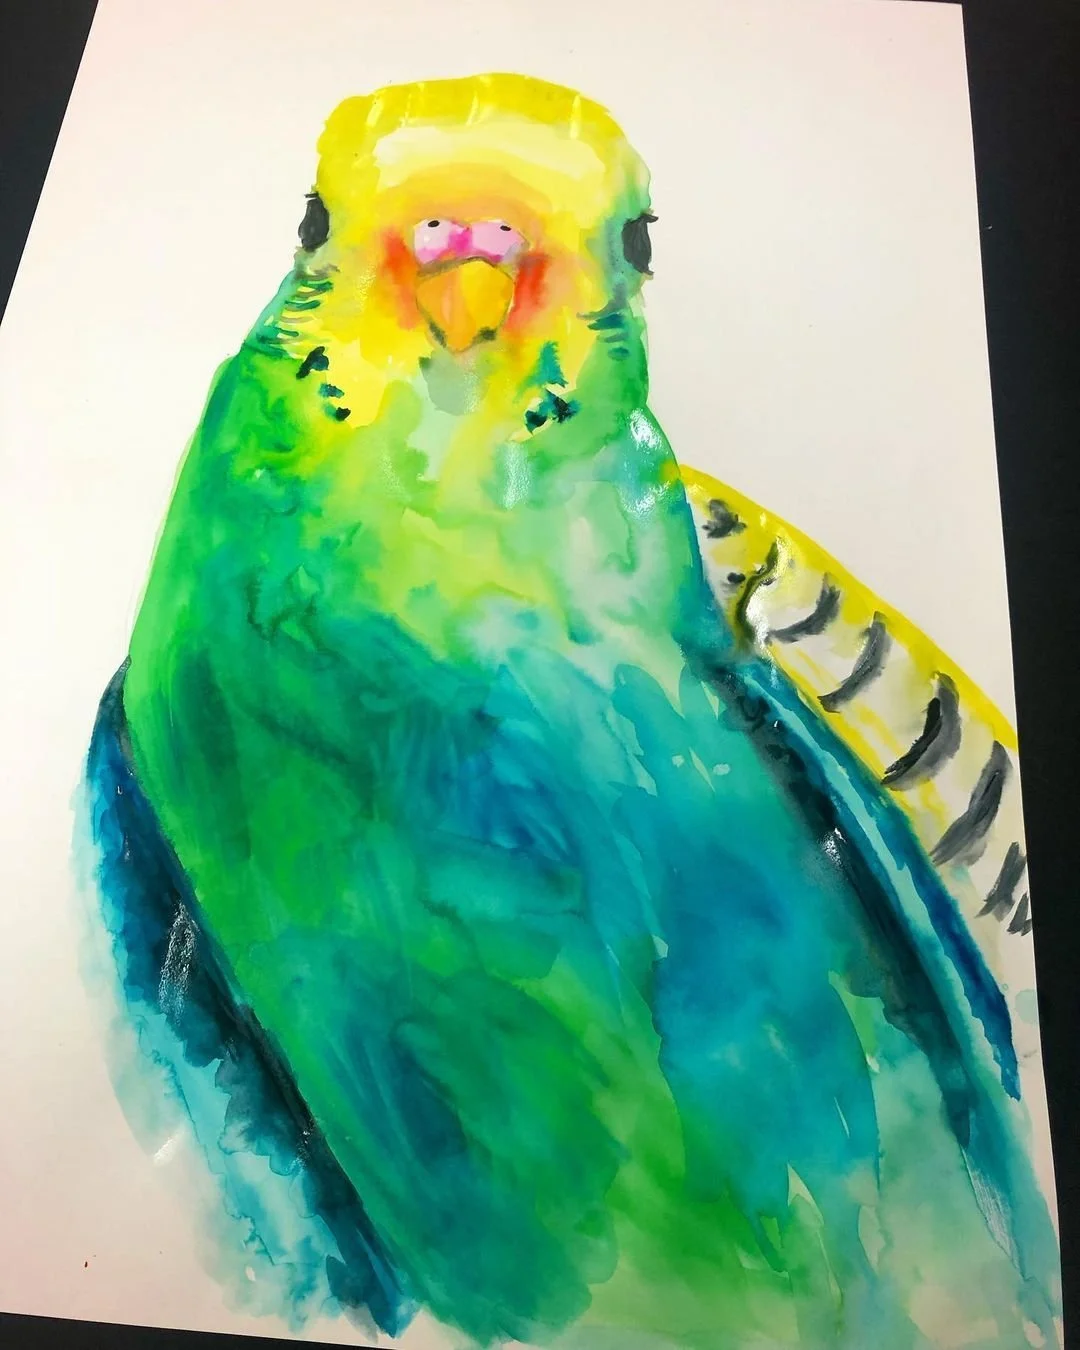
Watercolour troubleshooting: help, it's not doing the thing
Every one of these happens to every painter.
My colours look muddy.
Usually too many colours in one mix, or dirty water. Stick to two or three colours per mix, swap your water often and let layers dry before adding more.
My paper is going wavy.
Totally normal with lots of water. Tape all four edges down before you start. Once it's dry, pop it under a stack of heavy books overnight.
I've got weird hard edges and rings.
That's wet paint creeping into a half-dry area. Either work fast while everything's still wet, or wait until it's completely dry before going back in.
It looked so bright, then it dried pale.
Watercolour always dries lighter than it looks wet. Use a stronger mix (cream, not tea) or add another layer once it's dry.
My brush has gone splayed and frizzy.
Never leave brushes standing bristles-down in water. Rinse, gently reshape the tip with your fingers and lay them flat to dry.
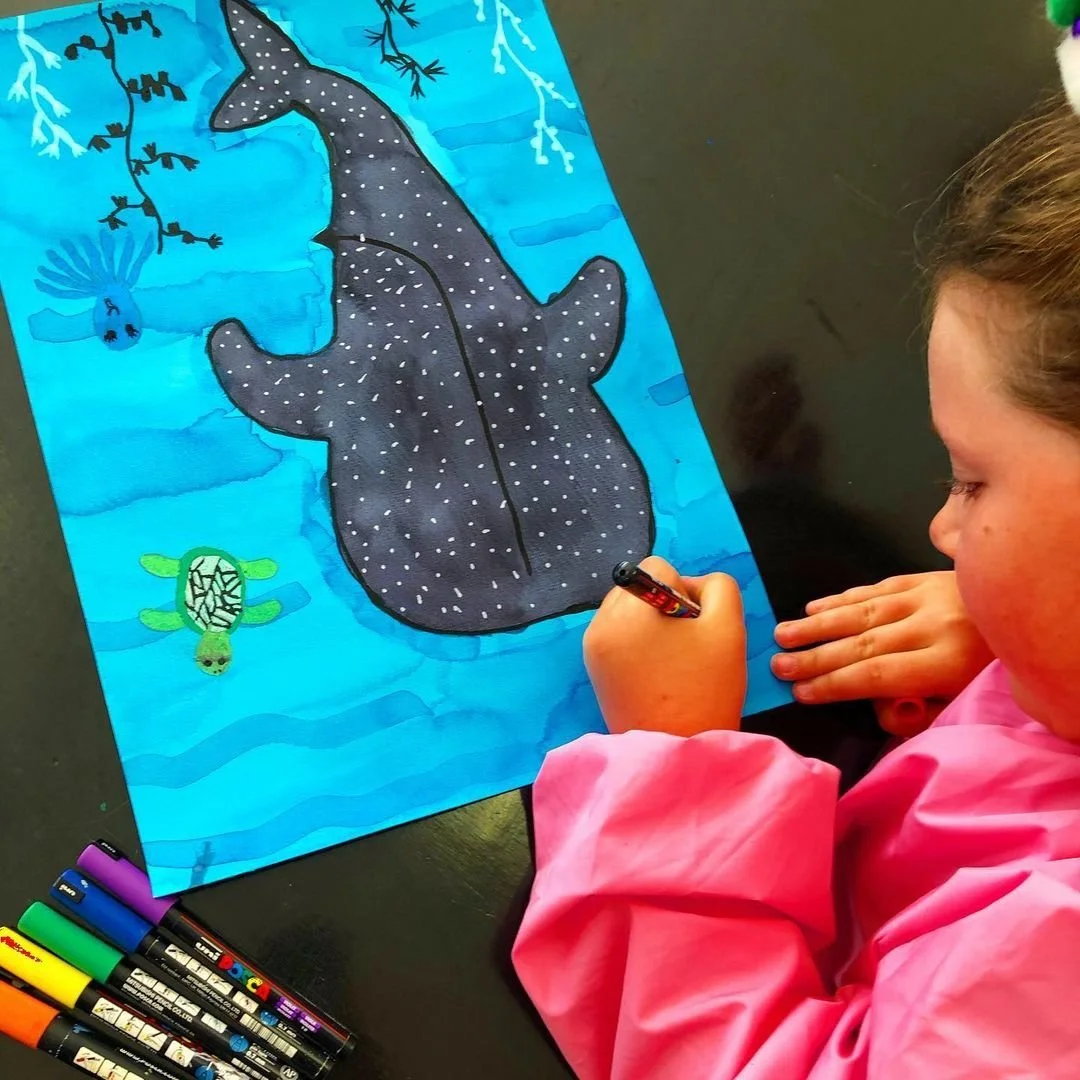
How to look after your watercolour kit
- Rinse brushes in clean water when you finish, and reshape the tip with your fingers.
- Dry brushes lying flat or bristles up, never bristles down in a jar.
- Leave your paint set open to dry before closing the lid, so it doesn't go mouldy.
- Don't wash dried paint out of your palette. Add a drop of water and it comes back to life.
- Keep paper flat and dry, somewhere away from little sticky fingers.
- Pop your finished pieces under a heavy book overnight to flatten them out.
Want to paint together?
Faire & Co is a process art studio in Perth. We run weekly classes for kids, teens and adults, plus school holiday programs and Paint & Sip nights. No experience needed. Just bring yourself, we'll bring the paint.
Process over product, always.
